
Level 1 sweep and inspection to the NFPA 211 annual standard - flue, crown, cap, and flashing checked and photographed
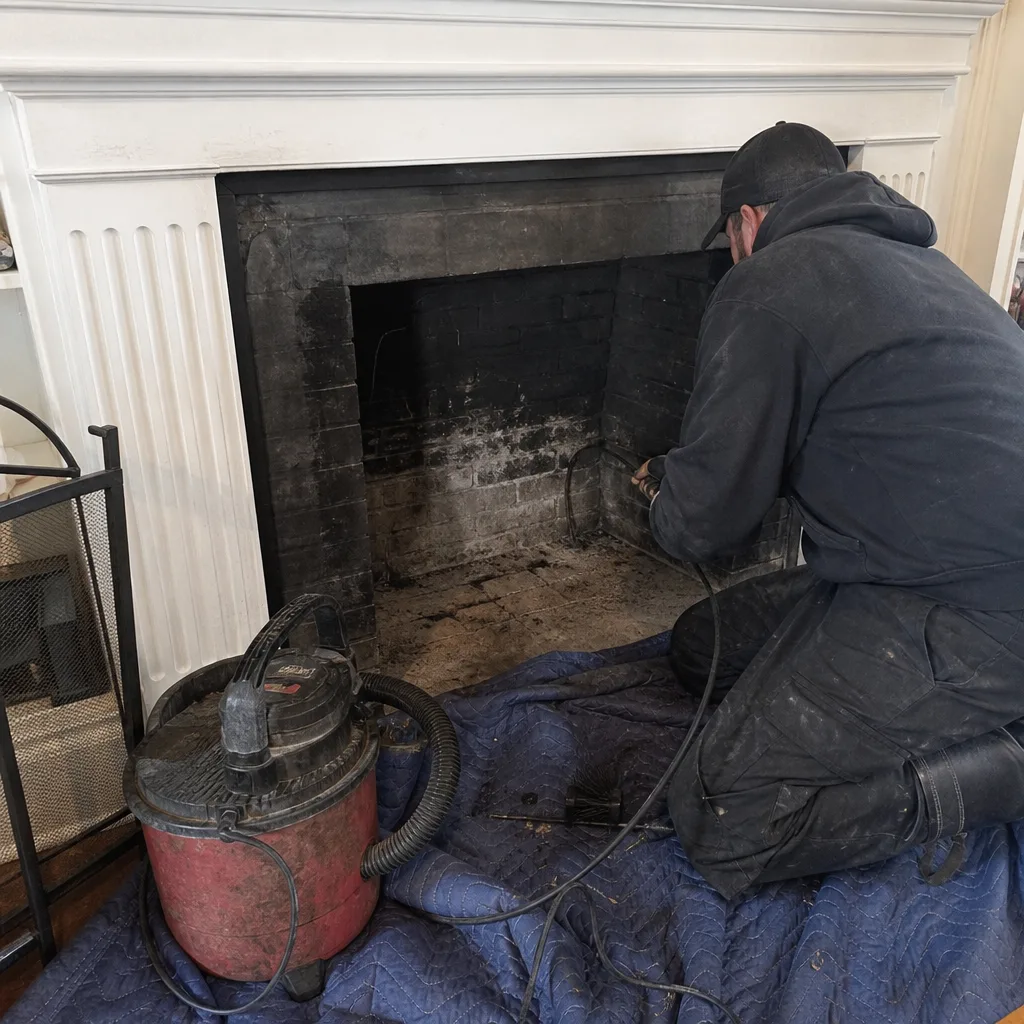
Chimney sweep logs do not sweep chimneys. They loosen some creosote - which then falls where a brush and vacuum still have to collect it.
 Before
 After
After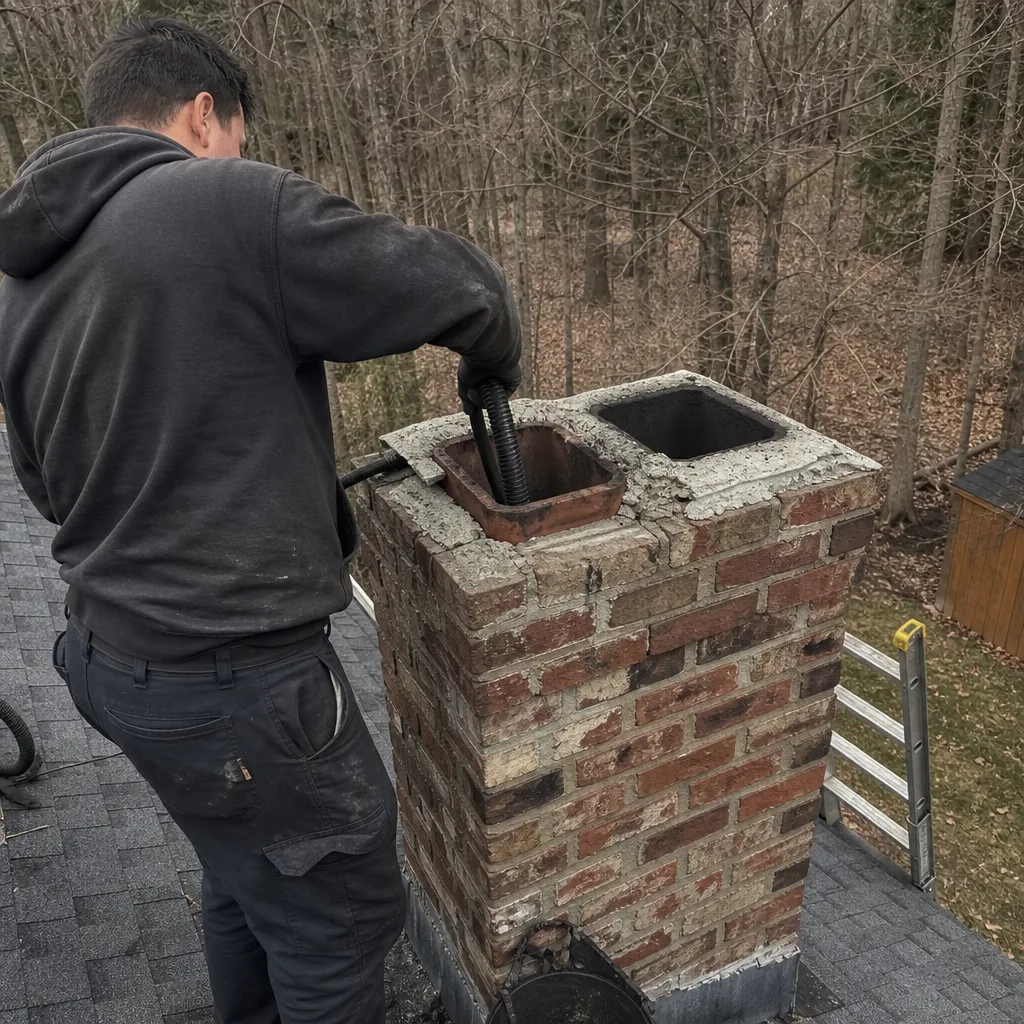 Before
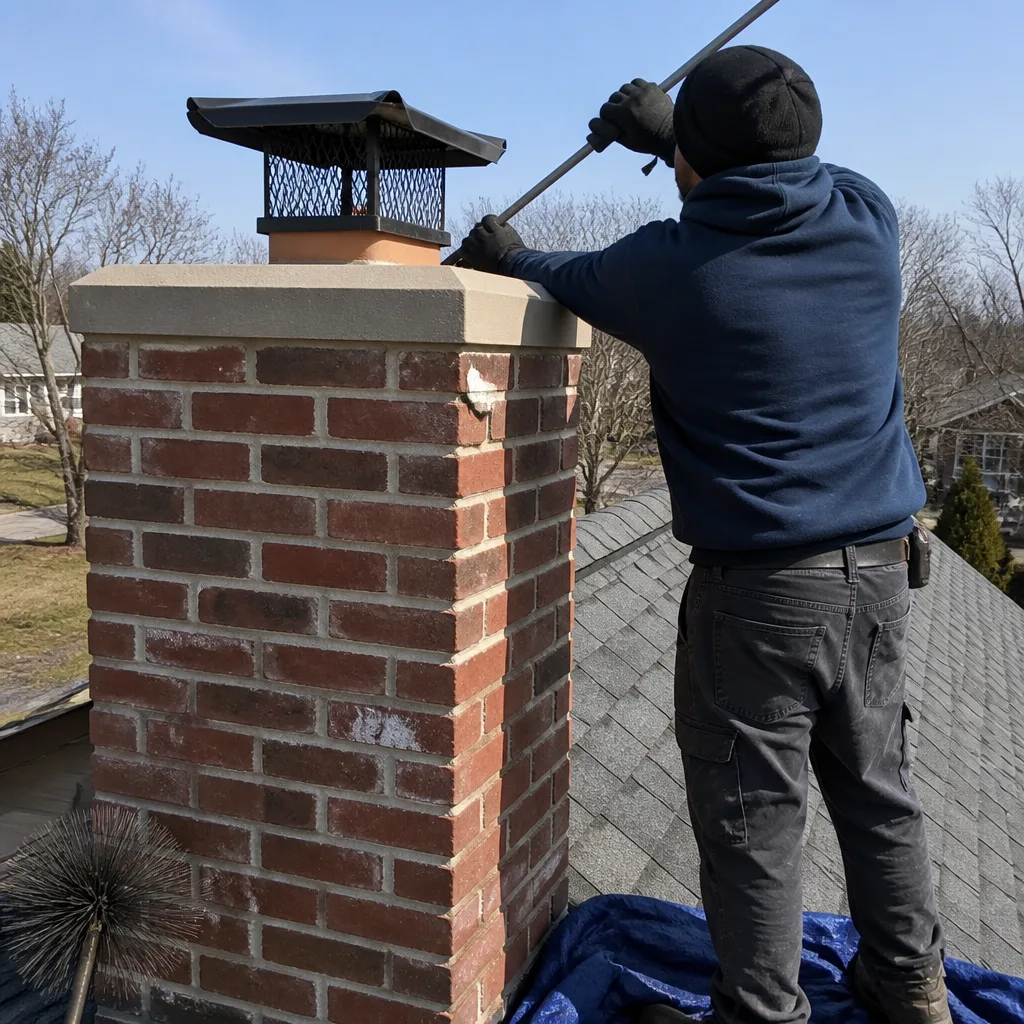 After
After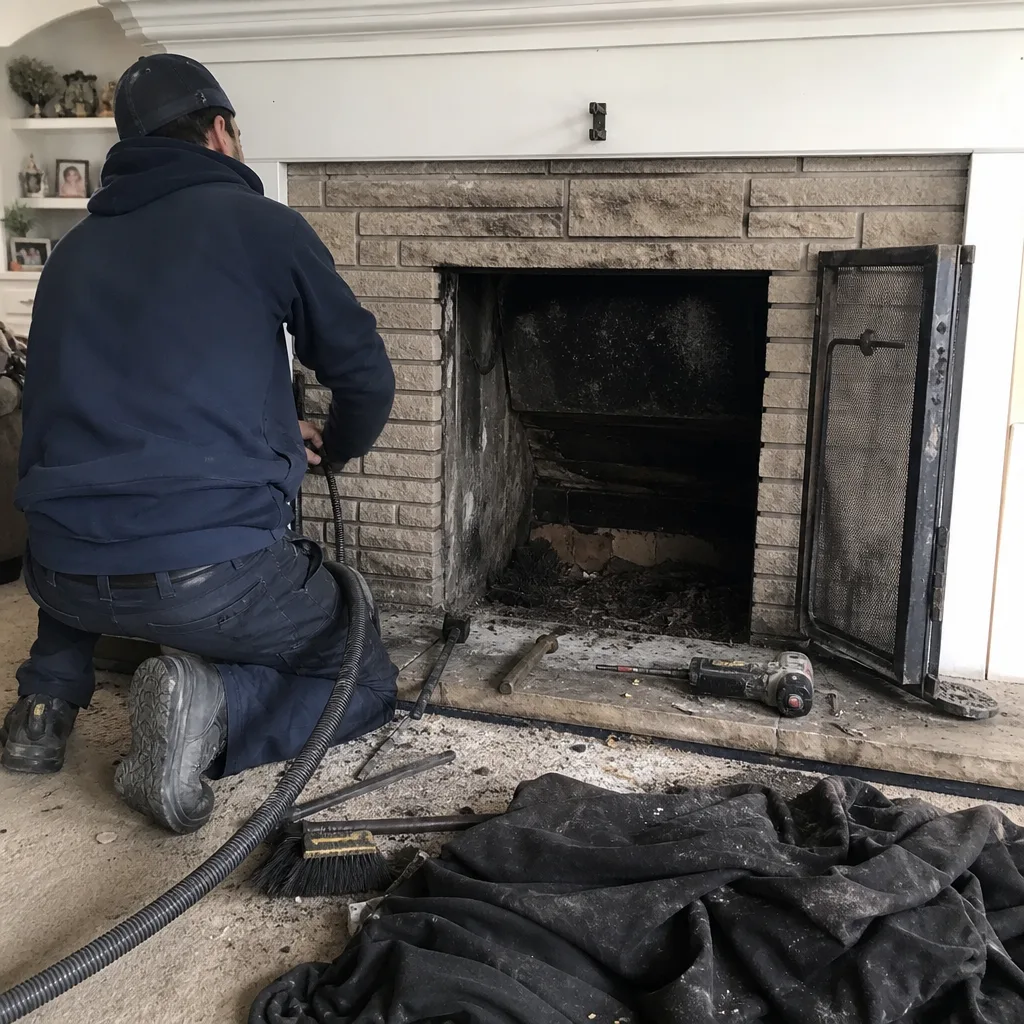 Before
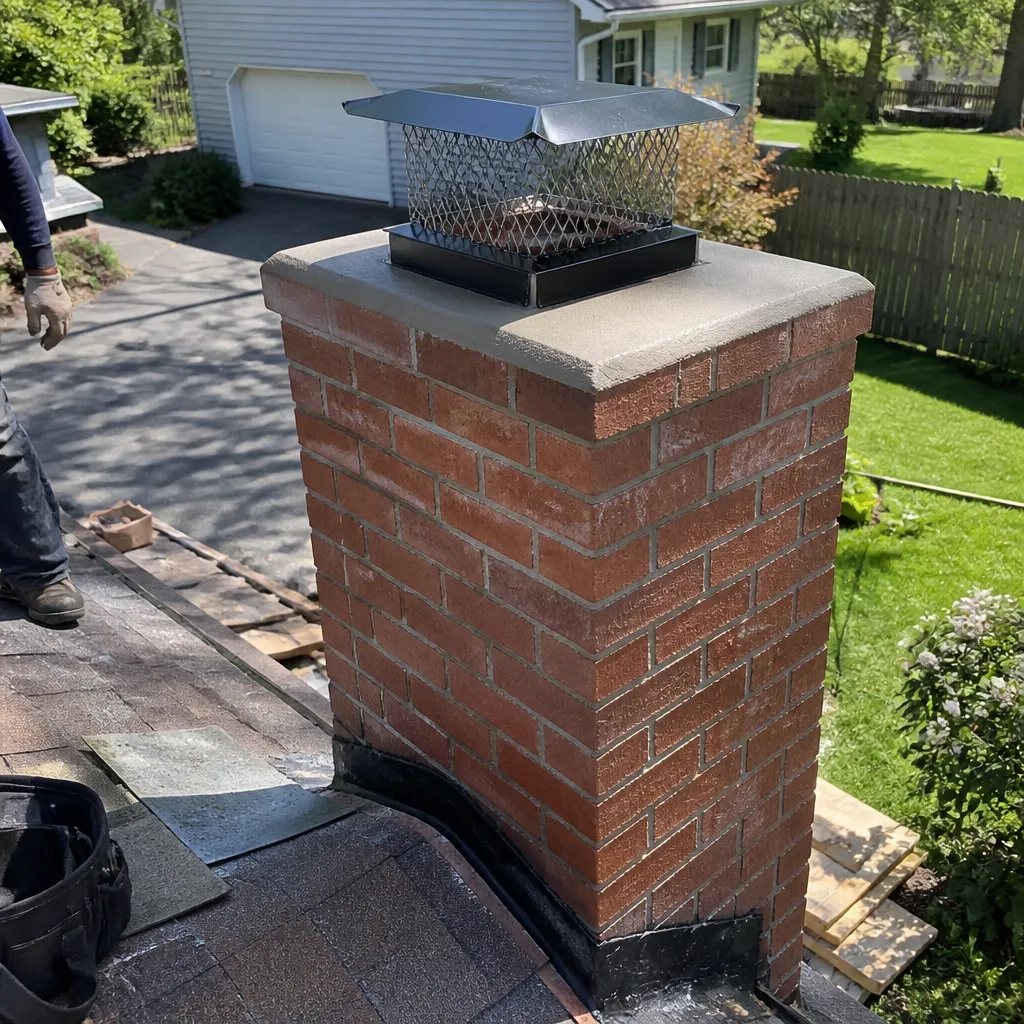 After
AfterHeatShield Chimney Liner & Rebuild in Jamesburg: What to Know First
Independent HeatShield chimney liner and rebuild work in Jamesburg typically takes one to two days once we’re on site, and most jobs fall between $1,900 and $4,800 depending on how much of the flue and crown needs attention. We’ve been repairing and replacing this system in Middlesex County homes since long before the national chains started adding it to their menus. If you own a HeatShield product and something’s not right, this page will tell you what we see in Jamesburg, what it costs, and whether it actually needs fixing. Call (609) 905-5820 and you’ll get a straight answer, not a script.
How HeatShield Products Fail - and How We Fix Them
- CeCure sleeve seams separating at the mid-flue joint. The HeatShield CeCure clay tile repair system gets installed in sections, and in Jamesburg chimneys that see hard freeze-thaw cycles, we regularly find the mortar seams at the midpoint pulling apart within five or six years. The flue gases find that gap and start eating at whatever’s behind it. The fix is usually removing the failed section, resurfacing what’s still sound, and lining the flue so the seam never takes direct heat again.
- Cerfractory flue sealant delaminating on the fireplace side. HeatShield’s Cerfractory material bonds well to clean clay tile but does not forgive surface prep shortcuts. In older Jamesburg homes with decades of creosote built into the flue walls, we see the resurfaced layer peel off in sheets because the original installer didn’t get the tile clean enough. The repair involves pulling the loose material back to solid surface and reapplying in layers that actually cure. It’s tedious work but it holds when done patiently.
- Relining over a botched HeatShield jog. Some Jamesburg flues have an offset or “jog” mid-chimney, and we’ve seen DIY or low-bid HeatShield applications fail right at that bend because the material was smeared too thin to survive the turbulence. Once that happens, the right move is usually a stainless liner run straight through the jog rather than trying to patch curved surfaces that already failed once.
- Ash and creosote load breaking down the repair from the inside. In Jamesburg, plenty of fireplaces burn pressed logs and unseasoned wood picked up at the roadside stand. That fuel loads the flue with acidic, high-moisture creosote that softens the HeatShield material from the inside out over three to five seasons. We can’t fix fuel habits, but we can clean the flue properly first and recommend a burn schedule that gives the repair a fighting chance.
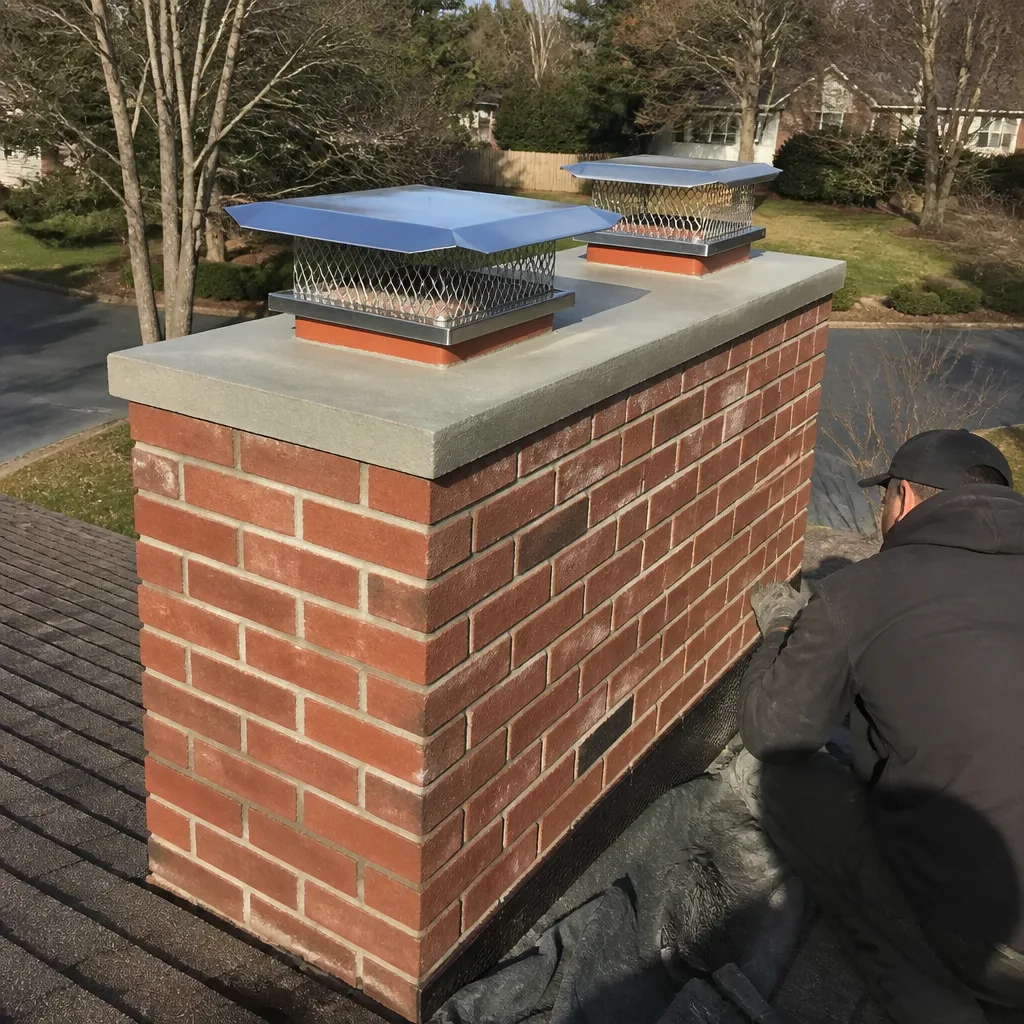
- Crown and wash failure letting water behind the HeatShield. The single biggest HeatShield failure pattern we see in Jamesburg has nothing to do with the product itself. The chimney crown cracks, water tracks down behind the resurfaced flue, and freeze-thaw does the rest. Any HeatShield repair we do includes a hard look at what’s letting water in up top, because fixing the flue without fixing the crown just guarantees a callback in three years.
Our HeatShield Chimney Liner & Rebuild Process
- 1
We run the camera. Before anything gets quoted, we send a camera down the flue and record the whole thing. You see the footage. You get a plain-English verdict on what’s failed, what’s holding, and what can wait. No exceptions.
- 2
We talk parts honestly. For HeatShield repairs, we’ll tell you whether the OEM material is the right call or whether a DuraFlex or Gelco stainless liner will outlast the patch for similar or less money. We don’t push the expensive option just because the box has a brand name on it.
- 3
We prep like the repair depends on it – because it does. The flue gets cleaned completely. Not a courtesy pass. Creosote and glaze are removed mechanically so the repair surface is actually clean.
- 4
The repair or rebuild goes in. Whether it’s a sectional HeatShield reapplication, a full stainless liner pull, or taking the chimney down to the roofline and relaying it, the work gets done methodically and checked at every lift.
- 5
We fire it, draft it, and camera it again. The before and after footage sits next to each other. You see exactly what you paid for.
- 6
The 90-Day Done Right Promise goes in writing. If something’s not right within 90 days, one call brings Wendell and the crew back. That’s not a phone-tree guarantee. That’s a person answering.
What HeatShield Chimney Liner & Rebuild Costs in Jamesburg
Every Jamesburg job is different, but most HeatShield work we quote falls into these ranges:
- Partial HeatShield repair (one failed section): $1,900-$2,600
- Full flue resurfacing with HeatShield Cerfractory: $2,800-$4,200
- Stainless steel liner replacement (DuraFlex or Gelco) after HeatShield failure: $2,500-$4,800
- Partial chimney rebuild above the roofline plus liner: $4,500-$7,500
- Full chimney rebuild from the smoke shelf up: $7,000-$12,000
What moves the price: roof pitch and access, how much masonry needs coming down, whether the original HeatShield job left sound tile behind or everything’s crumbling, and whether the crown needs rebuilding while we’re up there. We quote upfront before a single tool comes off the truck, and that number is the number on the invoice. Call (609) 905-5820 and we’ll come take a look. Estimates are free.
Why Jamesburg Homeowners Call Top Hat Chimney for HeatShield Work
Because when a HeatShield repair goes sideways, the homeowner who calls us has usually already been through the wringer with someone else. They want a second set of eyes, a camera that doesn’t lie, and a name they can find again on Saturday at the hardware store. That’s Wendell Pike. He’s been working chimneys around central Jersey for over two decades, and he’s the same person who answers the phone half the time. The crew shows up background-checked and in uniform, with a real arrival window that doesn’t slip without a call. We work with HeatShield, DuraFlex, and Gelco, so if the conversation turns from “patch it” to “line it,” you’re hearing options, not a one-brand sales pitch. Every job carries the 90-Day Done Right Promise in writing.
FAQs
No. We’re an independent HeatShield service provider in Jamesburg, which means we can repair and replace the system without being tied to the manufacturer’s pricing or parts channel. You get honest advice about whether OEM material or a quality aftermarket liner from DuraFlex or Gelco serves you better for the money.
Most Jamesburg calls get a visit inside five to seven business days, and we tell you on the phone whether we think your situation can wait that long. If you’re getting smoke back into the house or water is running into the firebox, tell us and we’ll find a way to get there sooner. Call (609) 905-5820.
We’ll tell you after the camera runs. If the joints are sound and the failure is contained to one section, a partial repair often makes sense. If the material is peeling in multiple places or the underlying tile is cracked, you’re usually better off with a full stainless liner rather than chasing patches. We’ll show you the footage and you decide.
A failed HeatShield surface exposes the flue to heat and condensation it wasn’t built to handle, and in Jamesburg’s freeze-thaw winters, small cracks become big ones inside one season. That leads to bigger masonry work later. If the flue is compromised, chimney fire risk goes up, and that’s not a scare line – it’s physics. Call (609) 905-5820 and we’ll tell you where your chimney stands.
The manufacturer’s warranty depends on the product line and when it was installed, but we see plenty of Jamesburg homeowners holding paperwork that never got honored because the installer went out of business. Our work carries a 90-Day Done Right Promise in writing regardless of what the manufacturer does or doesn’t cover.
Written by Wendell Pike, Owner, Top Hat Chimney at Top Hat Chimney, serving Jamesburg and nearby areas.